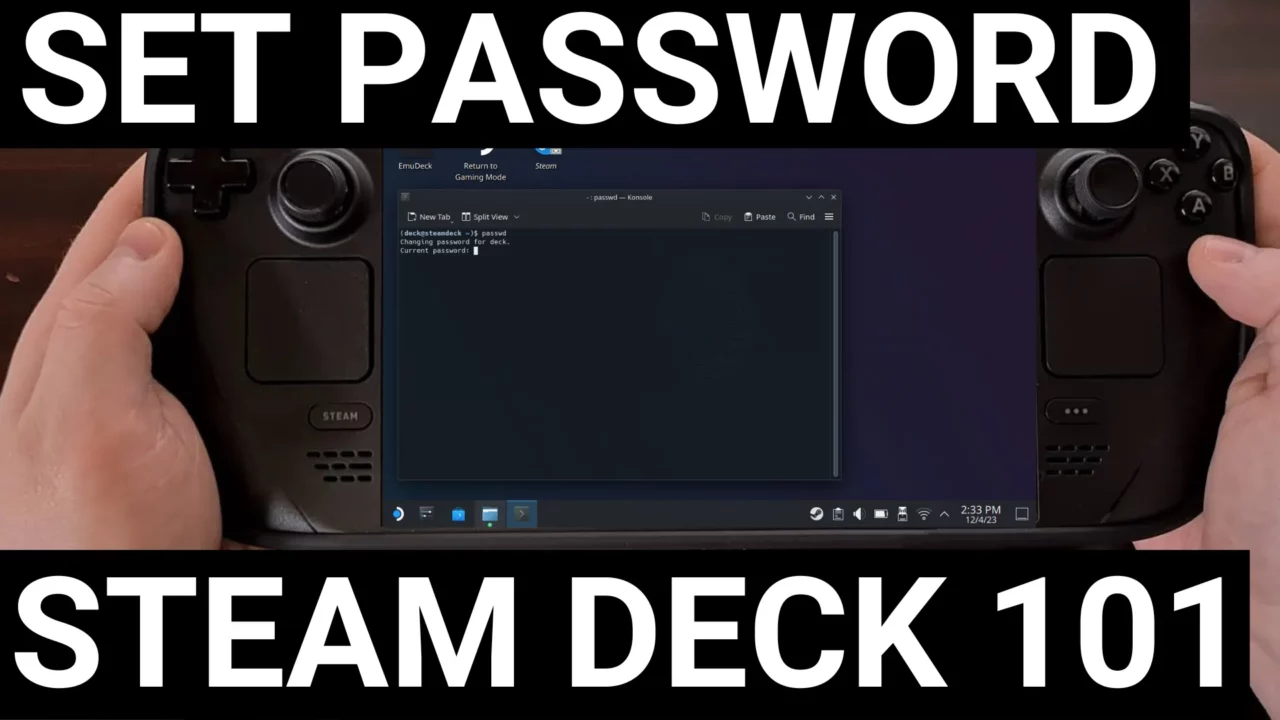
If you’ve tried installing certain features of EmuDeck then you may have been told that you need to have a password setup. Maybe you came across this unique mod or patch that requires you to run its installation script with sudo privileges. Before either of those things can be done, we first need to have created a password for the default user account on the Steam Deck.
This was one of the first things I did after getting in my LCD model so I can show you everything you need to know.
Why is a Password Required?
You may be asking yourself, what is my Steam Deck password?
Valve has chosen to not assign a password for Steam Deck owners by default, but this is technically a Linux filesystem so it’s actually quite easy to do on our own. The company says this was done for security reasons and that makes sense in some ways. Other OEMs have opted to assign random passwords or the same password for all units sold.
Either way you go about it, there are going to be some issues that the users end up having to overcome. I think Valve did the right thing with this approach.

How to Create a Password on the Steam Deck?
Everything you need to set a Steam Deck password is already installed on your device. And if you’re a Linux user, then you will feel real comfortable with this. All Windows and casual folks should still feel confident in what they’re doing. Which is why I’ll describe each of the steps we’ll be doing here today.
1. Reboot into Desktop Mode
You’re not going to need a password while in Gaming Mode, so the first thing to do is press the Steam button on the left-hand side of the Deck.
Now select the Power option located at the bottom of this menu.
And then choose the Switch to Desktop option.
2. Open a Terminal App
We’re going to need to execute a command from within a terminal window. There’s going to be an application called Konsole that is pre-installed on all Steam Deck devices. So that’s what I use but you could use any terminal app that you like the most.
Konsole can be found in the App Launcher menu (looks like a Start Menu) on Steam Deck when it is in Desktop Mode.
3. Execute the Change Password Command
When Konsole is open, you’re going to see a cursor where you can type into the terminal window. And we only need to execute one command to begin the process of creating a password on the Steam Deck.
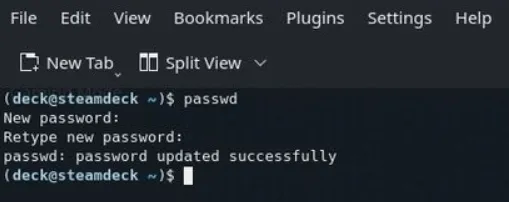
passwdWhen that appears, you’ll be asked to type in a new password. You should also be aware that whatever you type here will not be reflected on the screen. So the password must be typed in exactly as you want since backspacing can be troublesome.
After you type the new password into the Steam Deck, another line of text will appear telling you to retype the new password all over again.
This is to confirm that you in fact do know the password you’re wanting it to be set to. Not only that, but it’s also a way to help confirm that there weren’t any mistakes made either. When you confirm the password correctly, the Konsole app will tell you that the password has been updated successfully. That’s all there is to it. After you see that message you have assigned a password to your Steam Deck.
How to Change a Password on Steam Deck?
You can change your Steam Deck password by following the exact steps outlined above. So you’ll use the same passwd command that you used before. Only this time, the Steam Deck will know that you have previously created one. So you will need to confirm your old password before you will be allowed to change it to something new.
Which is exactly how you would expect it to be setup.
There are technically a couple ways to remove your old Steam Deck password entirely. So if you end up forgetting what it’s set to, that could be a viable path forward. The process can be quite extensive, though, so it will take time to create a tutorial for that.
But if it’s something you would be interested in seeing then be sure to ask in the comments section of the YouTube video embedded above.
Conclusion
I have tried to use Linux as my desktop operating system a few times over the years, but it never ended up sticking (usually for video game reasons). In that time I have had to learn terminal commands like the one we used here today.
So if you’ve been familiar with the command line in the past then there’s no much new to learn here.
