Valve developed SteamOS to run the display panel of the Steam Deck OLED to officially support 90Hz. This was a major selling point of the device, too. But it turns out some of panels Valve is sourcing for the deck can run much faster.
So about 2 weeks after it was officially released, a community developer who goes by the name Nyaaori released a SteamOS mod that allows it to run at 120Hz.
The mod is fairly complex though since everyone who owns an OLED Steam Deck is not able to take advantage of it. So today I want to walk you through checking to see if you can overclock yours. Then, for those who can, I will show you how to setup your deck so that you can actually install the mod. From there, you just need to download the mod script so that it can patch SteamOS.
Should I Overclock the Display?
The first question you’re probably asking is “should I overclock the display of the Steam Deck OLED at all?” And the answer to that is. . .it depends.
Overclocking monitors has become quite the common mod among the enthusiast PC gaming community. So it has been proven that in some situations with certain display panels, it’s perfectly safe to overclock them. They will use a bit more power and that will result in a bit more heat generation. But at the end of the day, it isn’t going to decrease the lifespan of your monitor.
Is that going to be the same case for overlocking the Steam Deck OLED display? Honestly, it’s too early to tell. The developer of the mod has said they put in a lot of work getting the display timings perfected, but that doesn’t mean the hardware itself is capable of maintaining the overclock for months on end.
Not only that, but some versions currently work better with this mod than others.
Can I Overclock the Display?
The next question you’re probably asking is “am I even able to overclock my Steam Deck?” And just like before, that will depend.
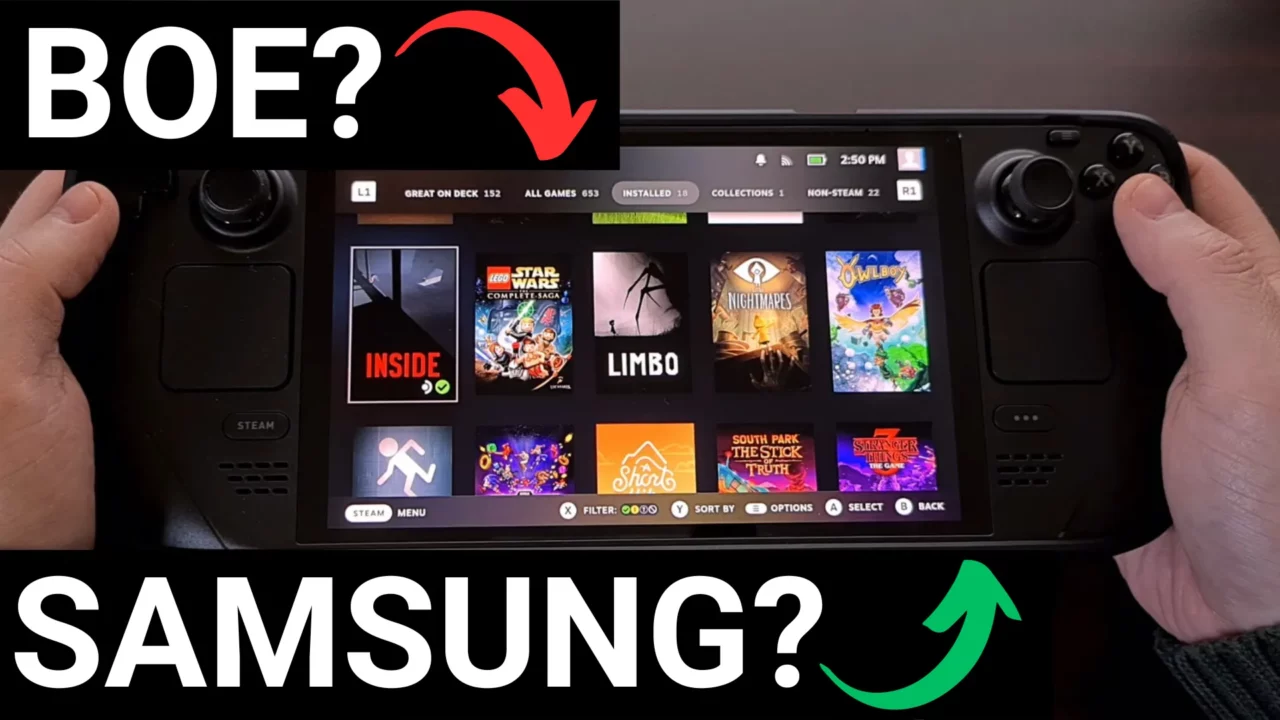
Valve is currently sourcing its OLED panels from two different companies. Some of them are coming from a company named BOE while others are being made by Samsung. So these panels end up performing quite differently with the BOE display being overclockable and the Samsung one having difficulties. It can be tedious to figure out which company makes the display of your Steam Deck.
For those who would like some help figuring this out, I have a dedicated article up on the website already that shows how to check which company makes the display of your Steam Deck. It’s quite thorough and has multiple methods to help you double check your work. But that will help you to learn if BOE made the screen inside your own deck.
If you’re like me and you have one made by Samsung then you won’t be able to overclock it with much success.
The developer has said the Samsung panel can get up to around 97 or 98Hz, but that’s about it. They also lack a device with a Samsung display, though, so testing has been sparce at this time. Still, a tool like this could, at the very least, help to extend the frame rate options compared to what Valve currently allows with the stock SteamOS experience.
The developer has also said a future update could detect which display you have and set the overclock options for you. Until then, though, I cannot recommend that anyone with a Samsung panel inside their Steam Deck install this mod.
Creating a SUDO Password
One of the other requirements of installing this Steam Deck mod is that you must have a password set beforehand. Valve currently ships all Steam Decks with a blank default password. Which means that scripts which are making major changes to SteamOS code are unable to be executed right out of the box. You actually have go into Desktop Mode and create a password in a Terminal window.
This is another thing I wrote an entire tutorial about, so if you’re not familiar with the passwd command in Linux, check out a guide I made showing how to create a password on Steam Deck.
That tutorial will walk you through the process from start to finish. For those who would like a quick rundown, you’ll need to. . .
- Switch to Desktop Mode.
- Open the Konsole Terminal app.
- Execute the command passwd.
- Type in a password and then confirm it.
Just be sure that you are setting a password you will remember. It’s a good idea to save this as a note in your Password Manager of choice but at the very least, write it down somewhere. It’s easy to think that you’ll definitely remember it but in 3-5 months after not thinking about it again, a password for something like this can be very easy to forget. Once it’s done, though, you can then execute the mod script.
Download and Execute the Script to Add Overclock Settings
You will then need to download the script and save (or move) it to your Steam Deck. This script can be downloaded from a mirror I setup. It doesn’t matter where the file is stored so I just saved it in the Downloads folder.
We’re going to need to launch a terminal window within that same folder too. So right-click on an empty spot within that folder. This will bring up the menu of options and there will be one labeled “Open Terminal Here.” You need to left-click that so that SteamOS will launch a Konsole window here. Since this was launched in the folder where our file is stored, we just need to execute that script now.
So bring up the keyboard and type out the command. . .
sudo install-rre.sh
When you finish typing out this command, press Enter on the keyboard. If you setup a password correctly, you will be prompted to type your password in, here. And if you type in your password correctly, this mod script will run its code so the patch can be installed properly. As long as everything went smoothly (and you did not get any error messages) you will be told the “Installation completed…”
Enable Settings in Gaming Mode
With all of that done, lets go ahead and boot back into Gaming Mode so we can check on a couple of SteamOS settings. This can be done by pressing the Steam button and then selecting the Settings menu option.
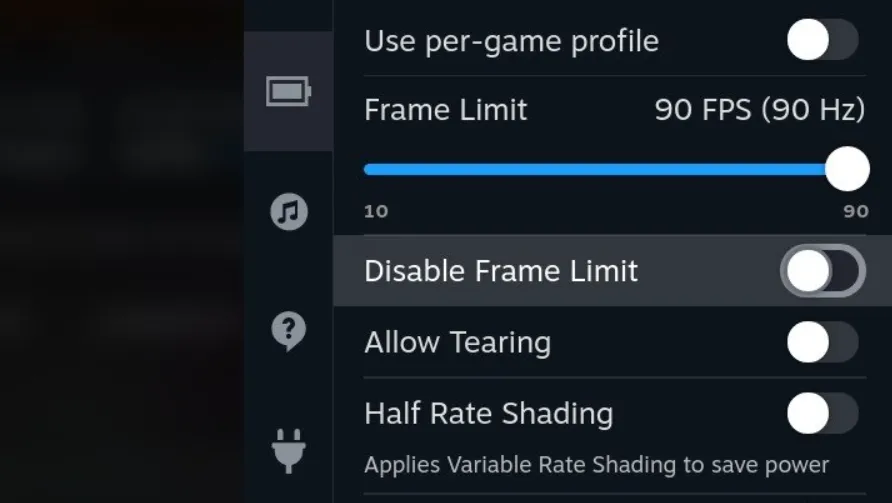
Then from here, we need to select the Display option so that we can scroll all the way down to the bottom and make sure the “Unified Frame Limit Management” toggle is enabled. Now, let’s press the Ellipsis button (three dots) on the right-hand side of the Steam Deck and select the Performance tab.
Then, begin looking for the “Disable Frame Limit” toggle is disabled (toggled off). This is required due to how the overclock options are setup. This script is a tool to allow you to set the display to 120Hz whenever you want. Just like we can limit the refresh rate of some games to 30FPS to save on battery life.
So with these two features setup like this, you should have a slider in your Performance tab of the Quick Settings menu.
From here, you can choose when you want to overclock your Steam Deck OLED panel to 120Hz. When you don’t need that type of performance, just drop the slider down to 60 or 90 or whatever you want it set to at that specific moment. Not only that, but this mod also extends this slider to include options that are missing from the stock SteamOS experience.
Overclocking the OLED Steam Deck Display
Conclusion
I hope you all read through this article because a mod like this is not something I recommend every Steam Deck owner install. I’m more than happy to recommend other mods like EmuDeck or DeckyLoader to everyone who wants to extend the features of their Steam Deck. But only certain devices should have this mod installed, and even then, it’s unclear if these panels will hold up over time.
So install at your own discretion and share your experiences with the community. The more people who are able to test this script out the better we’ll understand how it effects the display hardware.